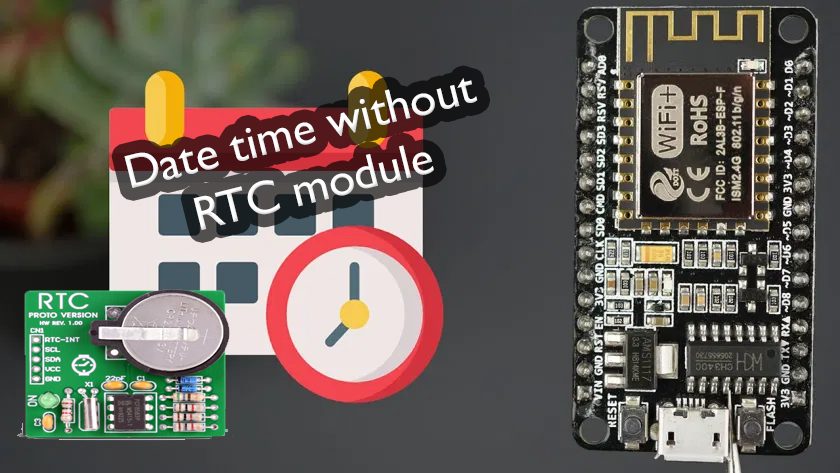
We can catch Real-time using the internet without using a real-time clock module. Ordinary we use a real-time clock module to keep time. DS1307, DS1302, DS3231 some of the modules of them. I will explain how its use and work later. Normally we use DS1307 and DS3231 as RTC modules. as a result, the time may slightly change after a few days. because the RTC module depends on the crystal oscillator frequency.that frequency depends on the temperature of the environment. But if you use a date-time NTP server it never gets wrong.

Now I will like to introduce NTP. NTP means Network time protocol. this NTP is a standard protocol that uses to sync time over the internet. This protocol helps to sync date-time within a few milliseconds. Then I will explain UTC time while using NTP time. Coordinated Universal Time simply called UTC time. it is word wide time standard. UTC time not changes with the time zone in the world. It’s the same for all of the corners in the world.
How NTP is working?
NTP can work with several methods. The most of method is the client-server model. On this method, the client will connect to server UDP (User Datagram Protocol) on port 123.
1. First client sends the request to the server.
2. Then the server sends the time stamp packet to the client.
3. After that packet contains several information. Those are UNIX timestamp, accuracy, delay, or timezone.
4. Finally the client can decode the date-time from the server.
Let’s start the Arduino code
Now I will explain the Arduino code for the sync date-time from the NTP server.
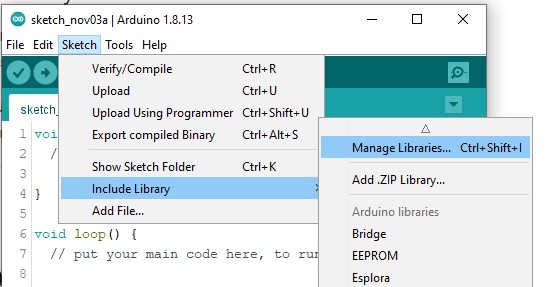
Install libraries
First, you should install the essential libraries.YOu can direct download the library from Github using this link. Then you ready to cook code. if you unable to install using above link, you can follow this step too.
Go to Sketch > Include Library > Manage Libraries
Then wait for few seconds while loading libraries. After that type “ntpclient” on the search bar.
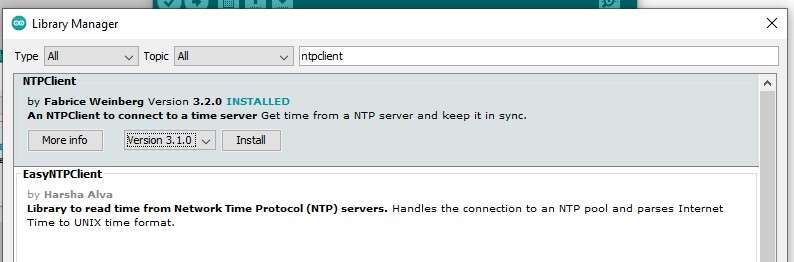
Finally, click on the NTPClient by Fabrice Weinber and install its on your computer.
Code explanation
At first you should import heder files for your project. in this basic example we need some of header file as below.
#include <NTPClient.h>
// change next line to use with another board/shield
#include <ESP8266WiFi.h>
//#include <WiFi.h> // for WiFi shield
//#include <WiFi101.h> // for WiFi 101 shield or MKR1000
#include <WiFiUdp.h>
Then insert your wifi router SSID and password. as an example, if your wifi name MYWIFI and your wifi password WIFIPASS123, edit both two line as below
const char *ssid     = "MYWIFI";
const char *password = "WIFIPASS123";
Date and time can include offset according to the geolocation. Simply Sri Lankan and American times not the same. So you can include your time location reference to the Greenwich time. as an example, if you live in Sri Lanka, your time should 5hours and 30minuts greater than Greenwich time. Let’s calculate the total seconds for the +5:30. (5*3600+30*60=19,800). So you should include that parameter in your code. because the NTP server sends UTC time to us.
60000 means update interval of the date-time from the server.its should give as milliseconds
NTPClient timeClient(ntpUDP, "europe.pool.ntp.org", 19800, 60000);After that, Nodemcu try to connect with your WIFI router using SSID and password that you gave
WiFi.begin(ssid, password);Now nodemcu wait for establishing a wifi connection with your WIFI router.its may take around 20 seconds
while ( WiFi.status() != WL_CONNECTED ) {
    delay ( 500 );
    Serial.print ( "." );
  }
Finally, apply the changes that we change before (time zone, update interval, etc….)
timeClient.begin();Now code will be looping and looping. code will request date-time from NTP server and add offset. now you can read date time all of the parameters.
timeClient.update();
Serial.println(timeClient.getFormattedTime());
delay(1000);
Full Arduino code
#include <NTPClient.h>
// change next line to use with another board/shield
#include <ESP8266WiFi.h>
//#include <WiFi.h> // for WiFi shield
//#include <WiFi101.h> // for WiFi 101 shield or MKR1000
#include <WiFiUdp.h>

const char *ssid     = "<SSID>";
const char *password = "<PASSWORD>";

WiFiUDP ntpUDP;

// You can specify the time server pool and the offset (in seconds, can be
// changed later with setTimeOffset() ). Additionaly you can specify the
// update interval (in milliseconds, can be changed using setUpdateInterval() ).
NTPClient timeClient(ntpUDP, "europe.pool.ntp.org", 19800, 60000);

void setup(){
  Serial.begin(115200);

  WiFi.begin(ssid, password);

  while ( WiFi.status() != WL_CONNECTED ) {
    delay ( 500 );
    Serial.print ( "." );
  }

  timeClient.begin();
}

void loop() {
  timeClient.update();

  Serial.println(timeClient.getFormattedTime());

  delay(1000);
}